

How To Install Kerdi Waterproof Membrane
Kerdi Membrane Installation is typically the first step in the Schluter Kerdi Shower Kit Organisation installation process. Because of the simplicity of the Schluter Kerdi Shower Kit Arrangement, it has become a popular shower waterproofing organisation for many homeowners.
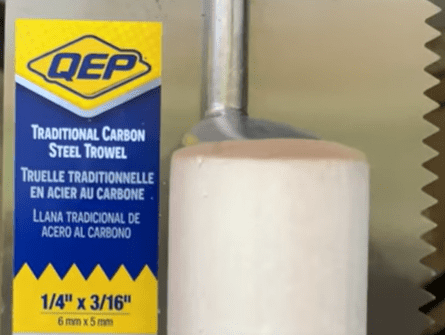
To install Kerdi Membrane, start by applying Schulter ALL-Fix mortar (or similar) to your cement board substrate using a i/4" x 3/xvi" V-Notch Trowel. Cut the Kerdi membrane to size using a utility knife or pair of scissors. Press the Kerdi Membrane into the Thinset Mortar with firm, fifty-fifty pressure to achieve full mortar coverage. Remove any backlog thinset mortar from underneath the membrane using the apartment side of a trowel or a putty-pocketknife.
This article will outline every step in the Kerdi Membrane Installation process to ensure that your shower walls are completely waterproof.
What is Kerdi Membrane?
Schluter Kerdi membrane is a flexible, sheet applied waterproofing and vapor-retarder membrane that is typically practical to shower walls, bathtub surrounds, and other tile applications where wet volition be nowadays. Kerdi Membrane is designed for direct tile application.
Schluter Kerdi membrane is manufactured with a polyethylene center with not-woven polypropylene on both sides which allow the membrane to exist anchored to the wall with thinset. Kerdi membrane is eight Mils in thickness and comes in rolls that are 3′-iii″ in width.
For more information on the Kerdi Membrane, check out the Schulter Systems website linked here.
How to Install Kerdi Membrane
Before Kerdi membrane can exist installed, you need to have a properly prepared substrate. Typically, cement lath is the all-time substrate for Kerdi Membrane installation on walls.
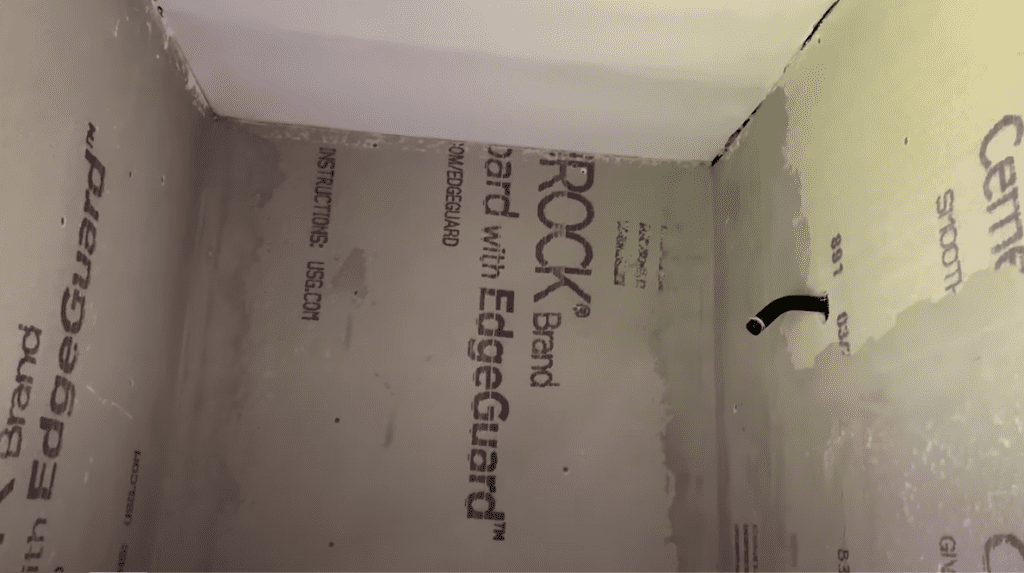
For more than information about how to install cement board on walls, check out my "How to Install Cement Board on Walls" blog linked here.
One time your substrate is installed, ensure that it is clean and free of whatever dust or debris that may impact the Kerdi Membrane installation.
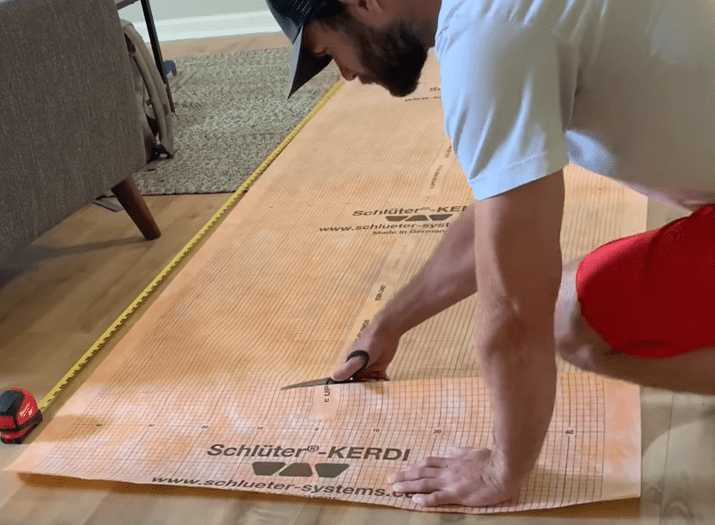
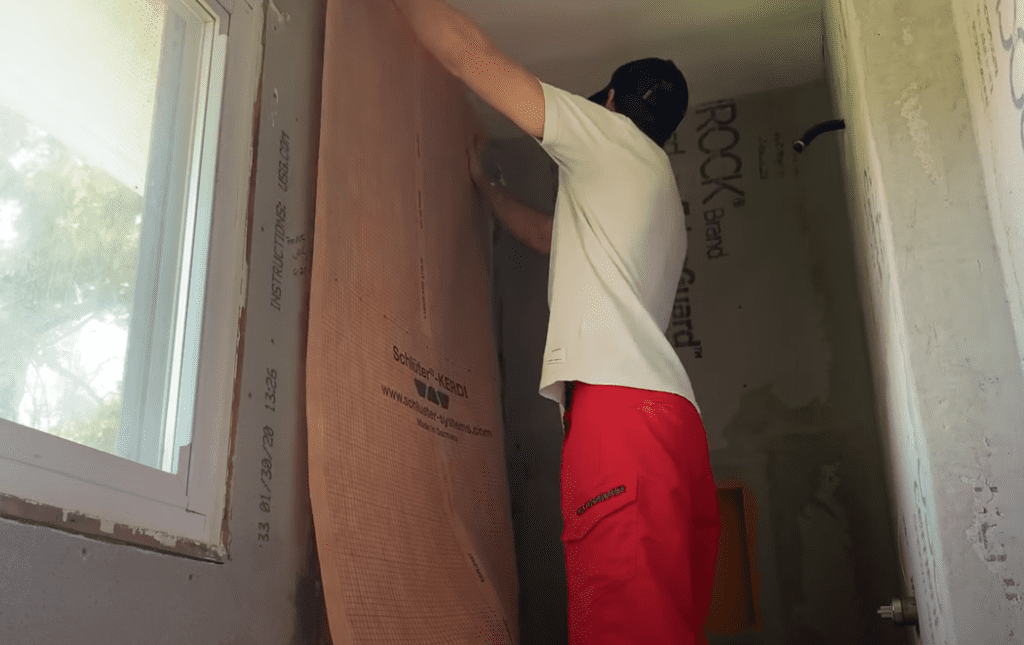
Next, cutting the Kerdi Membrane to size using scissors or a utility knife. Typically, Kerdi Membrane will extend from the subfloor all the way to the ceiling. For showers or bathtub surrounds, Kerdi Membrane should extend to the height of the showerhead at a minimum.
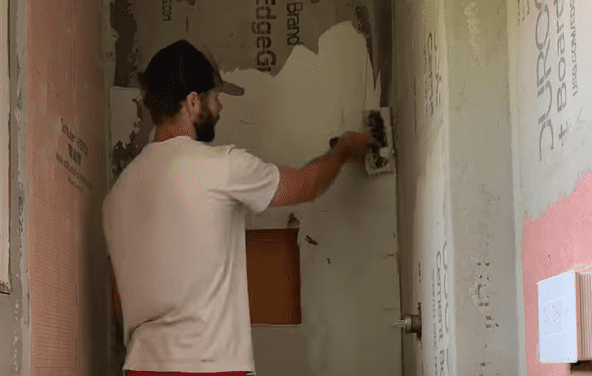
One time the Kerdi Membrane is cut to size, apply thinset mortar to the walls/substrate using a i/4" x 3/16" V-notch trowel. Employ thinset mortar to the substrate using "directional troweling" – significant that all trowel marks run in the same direction.
It is recommended that Schulter ALL-Set up mortar be used in society to maintain the Schluter Warranty and ensure a successful installation. Schulter-SET, Schluter-FAST-Gear up, or an unmodified thinset mortar can likewise be used.

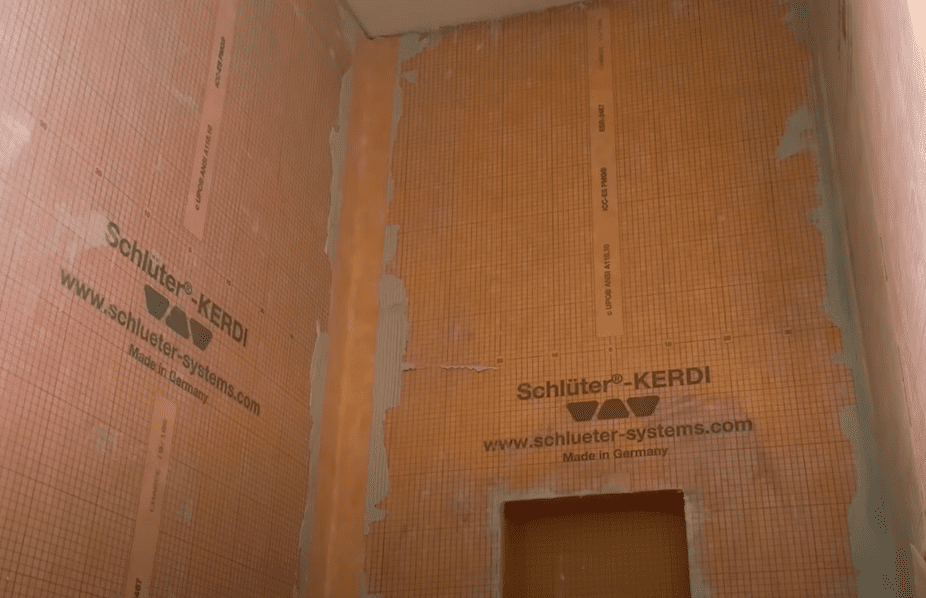
Once a sufficient amount of thinset mortar has been applied to the substrate, press the Kerdi Membrane into the mortar, fully embedding the membrane into the thinset.
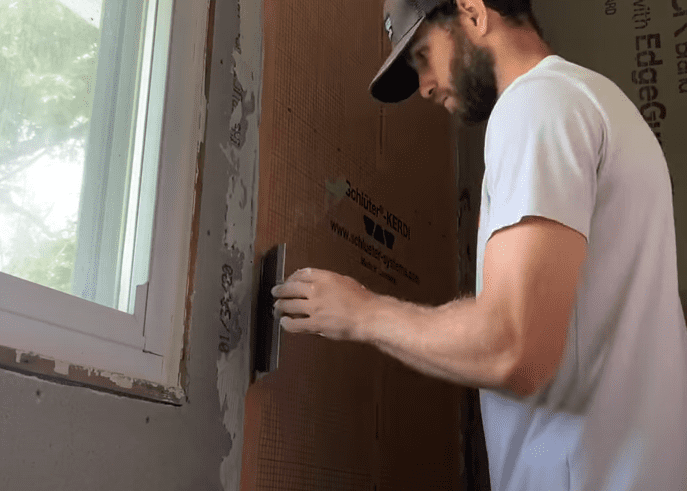
Use the apartment side of a trowel to utilize fifty-fifty pressure to the entire Kerdi membrane, ensuring that the membrane is fully pressed into the bond coat.
Remove whatsoever excess mortar or air bubbles from beneath the Kerdi Membrane by "sweeping" them to the side with the flat side of the trowel.
Continue to utilize Kerdi Membrane in this style for all walls that crave waterproofing.
Adjacent Steps
One time the kerdi membrane has been installed on each wall, the joints and seams will demand to be sealed using Kerdi-Ring, Kerdi-Kereck, etc.
For a detailed explanation on how to apply seal Kedi Membrane seams and joints with Kerdi-Band and Kerdi-Kereck, check out my "How to waterproof Kerdi Joints" Ariticle linked here.
Kerdi Membrane Installation is typically Pace 1 of 4 in the Kerdi Shower Kit installation Process. The other steps required for a successful installation are listed below.
- Step one: Install Kerdi Membrane
- Footstep 2: Install Kerdi Shower Pan
- Step three: Install Kerdi Shower Curb
- Pace iv: Waterproof all intersections and joints
I have a dedicated article for each step in the Kerdi Shower Kit Installation Project that volition help yous learn everything y'all demand for a successful installation. If you are more of a visual learner, you can check out my footstep-by-step Kerdi Shower Kit Installation Youtube Video below:
Thank you then much for checking out ATImprovements! If you lot learned something from this project, y'all might likewise similar these other DIY Projects:
How to Install Hexagon Floor Tiles: How to Install Hexagon Floor Tile – AT Improvements
Schluter Ditra VS Cement Board (Which is amend?): Schluter Ditra VS Cement Board (Which is better?) – AT Improvements
To meet the total bathroom transformation time lapse, click hither!
Cheers!
DISCLAIMER: This is a reference guide only. Links included in this commodity might be affiliate links. If you purchase a production or service with the links that I provide I may receive a minor committee. There is no boosted charge to you! Thank yous for supporting ATimprovements so I can continue to provide you with free content each week!

Source: https://atimprovements.com/kerdi-membrane-installation-step-by-step-installation-guide/
Posted by: boyleclot1951.blogspot.com
0 Response to "How To Install Kerdi Waterproof Membrane"
Post a Comment